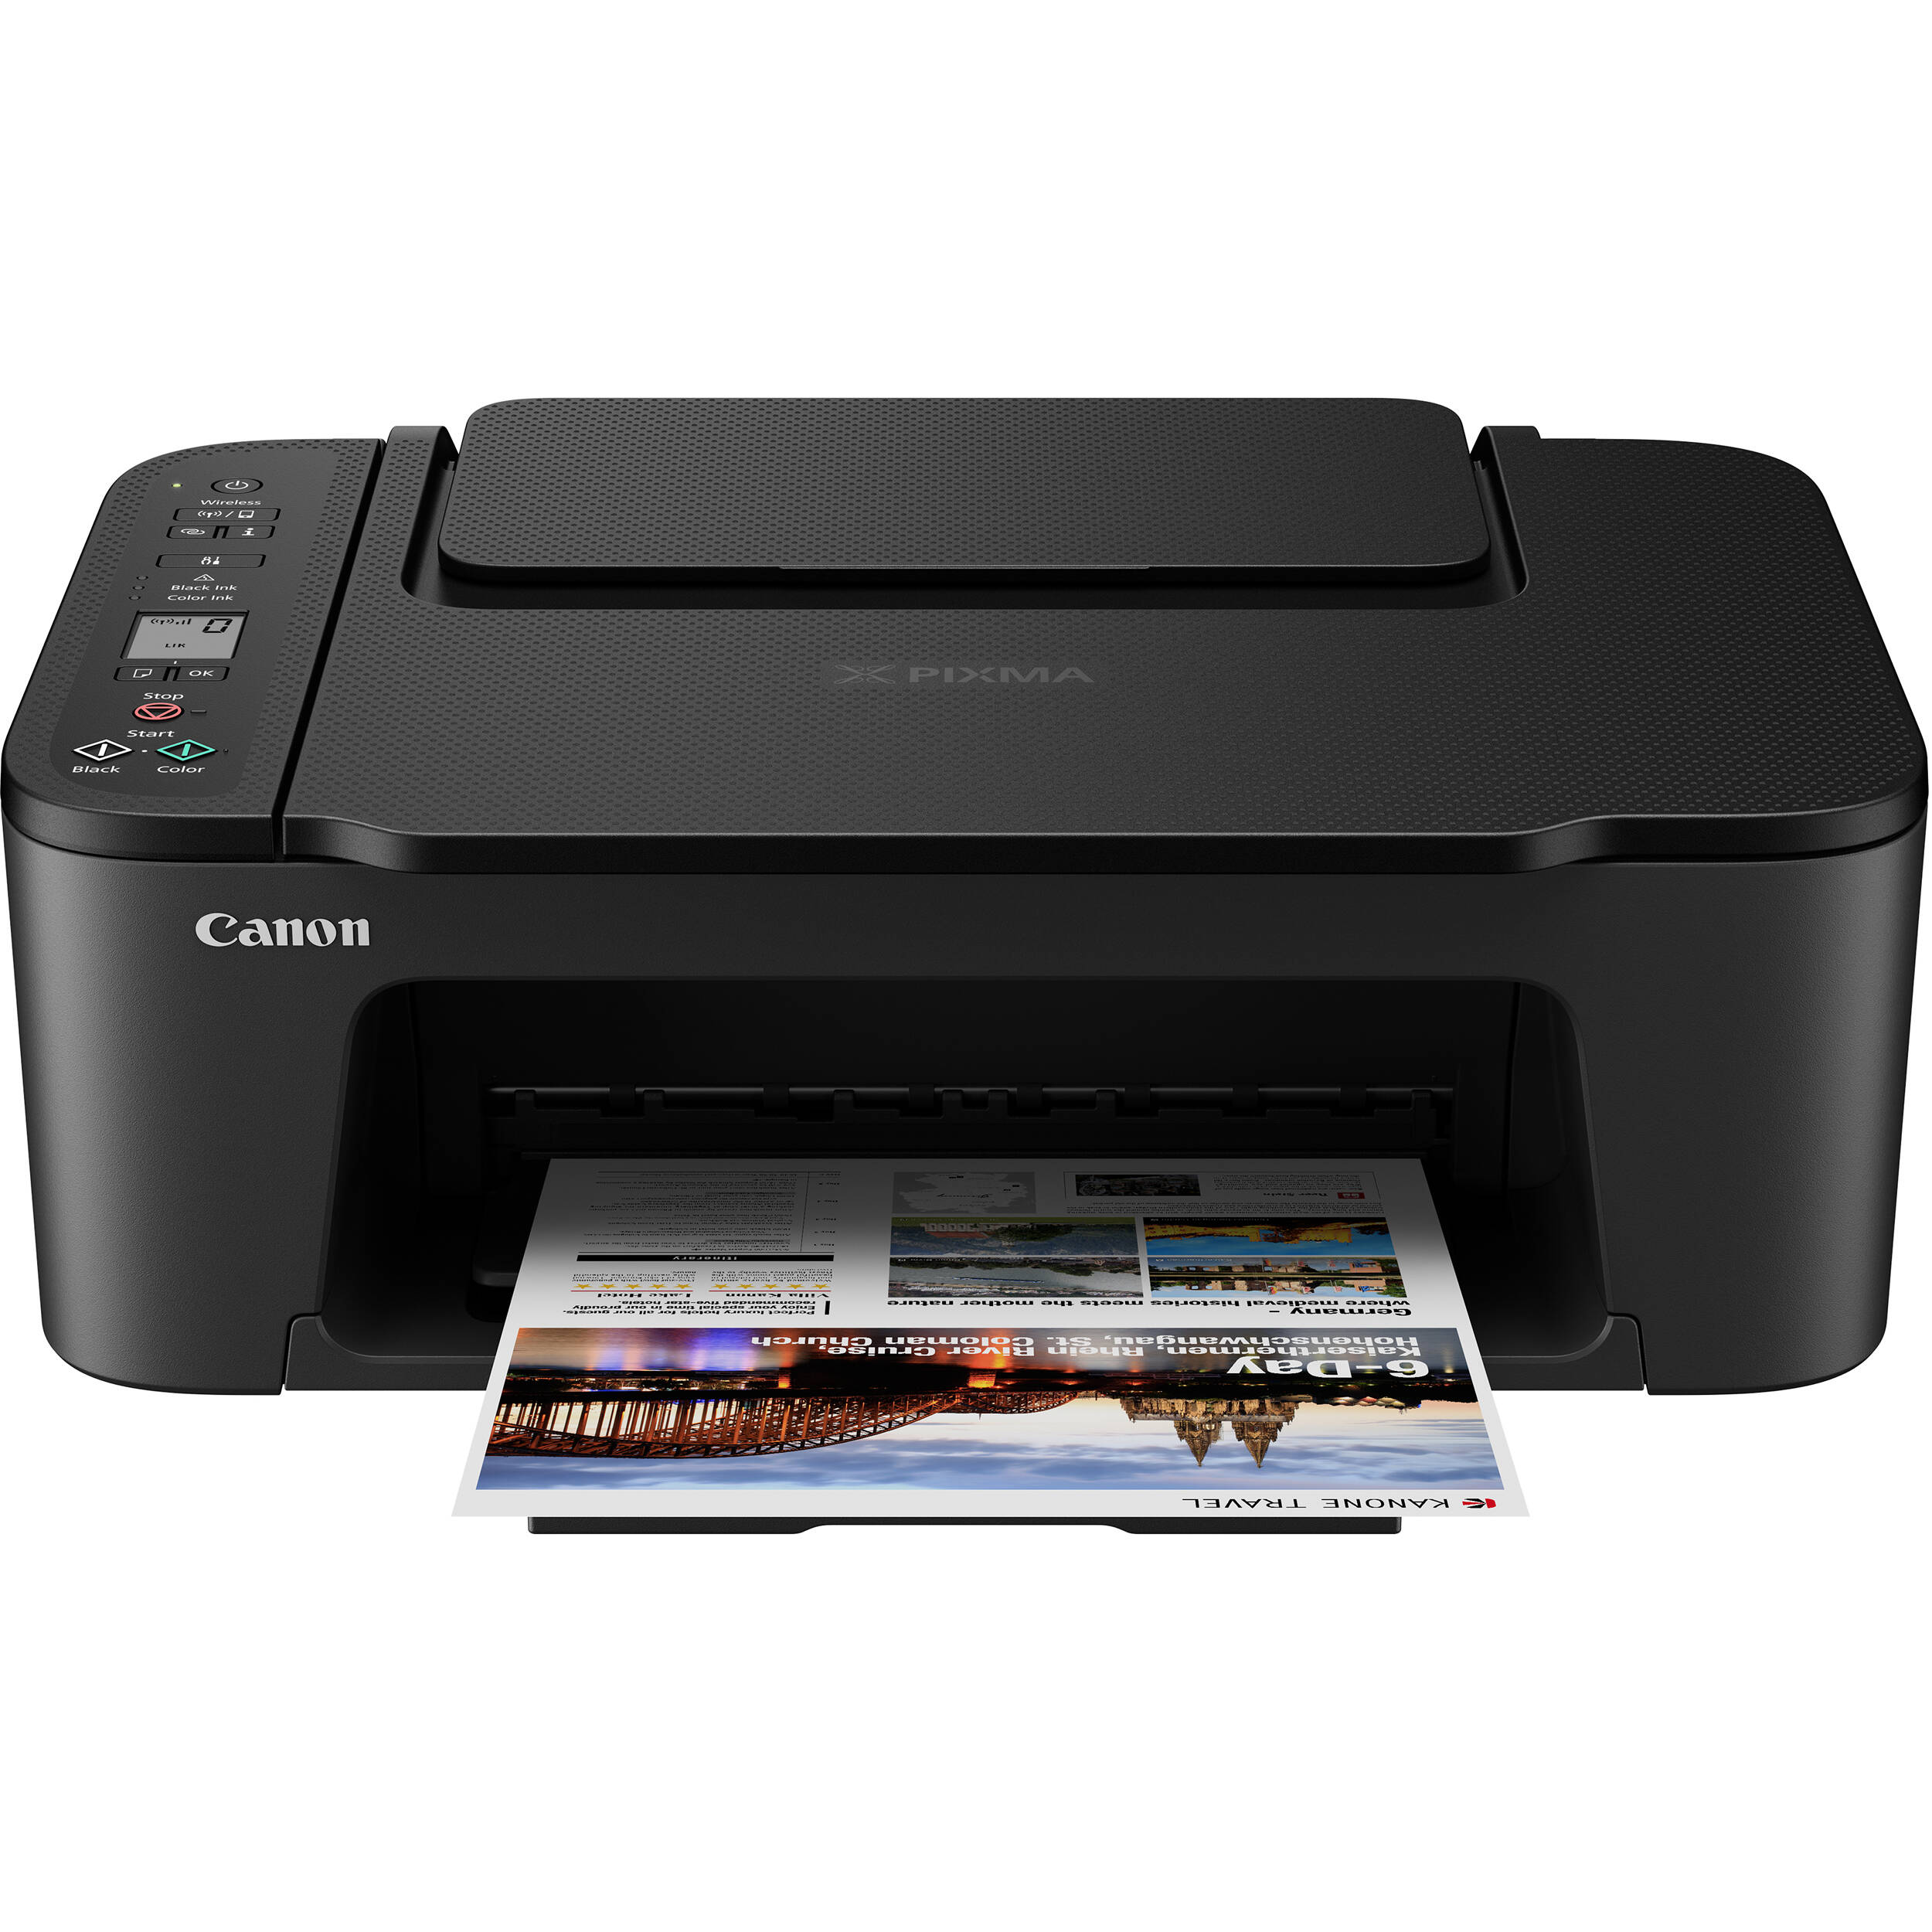
If you own a Canon G2010 printer, you know how important it is to keep it clean and well-maintained. A dirty printer can lead to poor print quality, paper jams, and even damage to your printer. In this article, we will provide you with a comprehensive guide on how to clean your Canon G2010 printer.
Step 1: Turn off your printer
Before you start cleaning your printer, make sure it is turned off and unplugged from the power source. This will prevent any accidents or damage to your printer.
Step 2: Remove the ink cartridges
Next, remove the ink cartridges from your printer. This will allow you to access the printhead and other parts of the printer that need cleaning.
Step 3: Clean the printhead
The printhead is the part of the printer that applies ink to the paper. Over time, it can become clogged with dried ink, which can lead to poor print quality. To clean the printhead, use a lint-free cloth or cotton swab dipped in distilled water. Gently wipe the printhead until it is clean.
Step 4: Clean the paper feed rollers
The paper feed rollers are the parts of the printer that pull the paper through the printer. Over time, they can become dirty and cause paper jams. To clean the paper feed rollers, use a lint-free cloth or cotton swab dipped in distilled water. Gently wipe the rollers until they are clean.
Step 5: Clean the exterior of the printer
Finally, clean the exterior of the printer with a soft, damp cloth. Be sure to remove any dust or debris from the printer, as this can cause damage over time.
In conclusion, cleaning your Canon G2010 printer is an important part of printer maintenance. By following these simple steps, you can keep your printer running smoothly and ensure high-quality prints every time.


